
We are homebrewers. We live in an RV. Hence, the name…homebrewing in small spaces!
Maybe you homebrew, too. Maybe you haven’t yet, but you want to! You know you want to.
Whether you have homebrewed once, twice, more, or not at all, learning and experimenting never stops, and while you can (and will) make mistakes, you’ll never have your own beer if you don’t start.
Improvise When Homebrewing in Small Spaces
Improvise! Whether brewing in small spaces, large spaces, or somewhere in between, homebrewing is all about creativity and improvisation. Everyone has opinions and ideas on how things should be done. Some may be the same across the board; however, many are different, and just like a science and math equation, there are many ways to solve a problem, or in our case, craft a beer.
So, when watching our video, Tiny Brewing – Home Brewing in Small Spaces, keep all of the above in mind. Do your research and find, create, or combine recipes. Use your resources: this YouTube video, home brew shops, and clubs, Google, meet-ups, books, podcasts, etc. to build your base knowledge of homebrewing. But then…improvise. Get creative with flavors. Experiment. This is science, baby!
By no means is this video meant to explain everything about brewing; there are college degrees and certification levels for that. This video is meant to guide you on your homebrewing adventures in a tiny space, while giving you a bit of humor along the way.
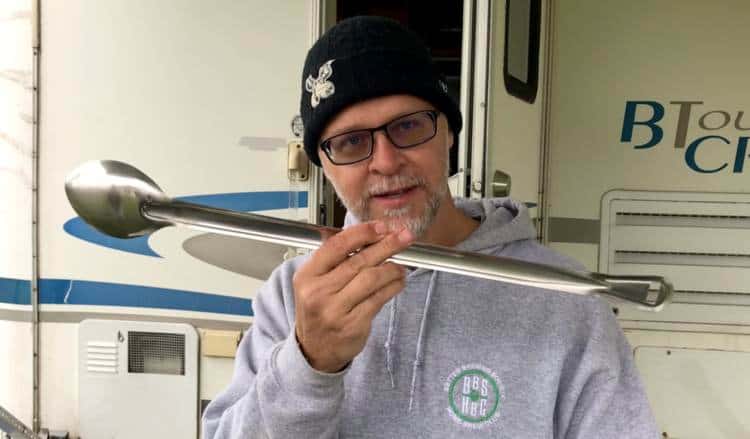
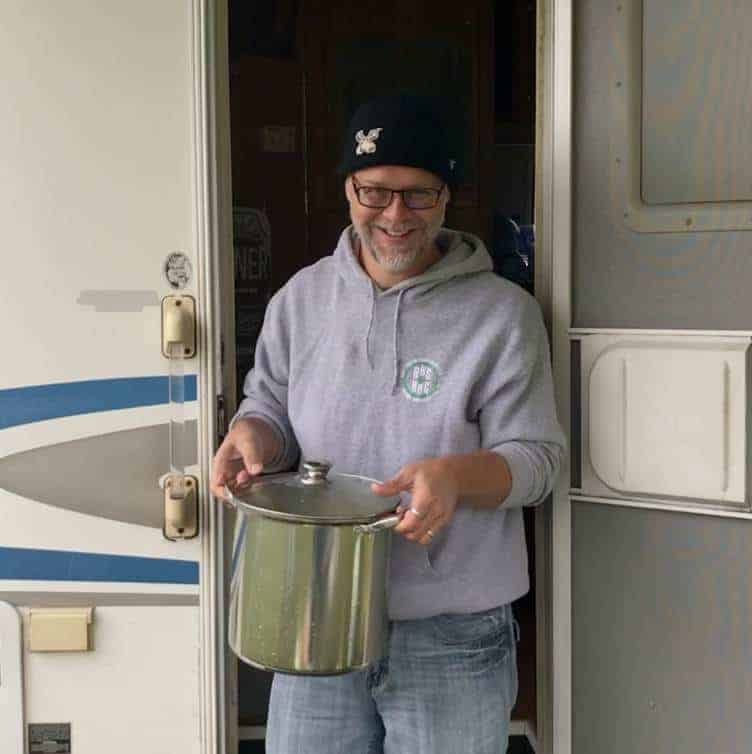
You do need the proper equipment to brew, and this can get quite complicated, but basic home-brewing staples are: a pot, a large spoon, hops and grain bags, a thermometer, wort chiller (we used ice), fermenter (we used a carboy), auto siphon, hydrometer and vial (not needed), bucket and sanitizer, recipe and ingredients, bottles or keg (we use bottles), bottle sugars, bottle caps, and a bottle capper. Scroll down for links to purchase the items needed to brew, and stay tuned for more videos on sanitizing and bottling!
You can brew anywhere at anytime. On this brewing day, we found ourselves parked in a lovely spot near Gulf Shores, Alabama on a balmy, sunny, beach day…NOT! It was barely 45 degrees, raining, and cold!
Weather aside…Where’s my beer?!
It’s time to brew, baby!
Please, please, please feel free to use your own recipe or copy ours. The video we made was following along with the recipe Kenny created, but you can create your own, use this one, or find another one, and still follow along on the video. The steps are somehow both generic and specific enough. The key ingredient to this brewing thing is to get creative, get funky, improvise, and have a lot of fun! You’re making beer!
Here’s the recipe we came up with for a three-gallon brew:
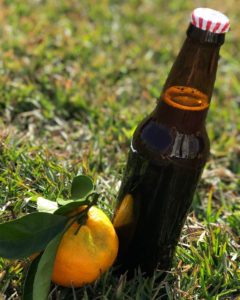
Dirty Satsuma (Amber/Copper Ale)
INGREDIENTS:
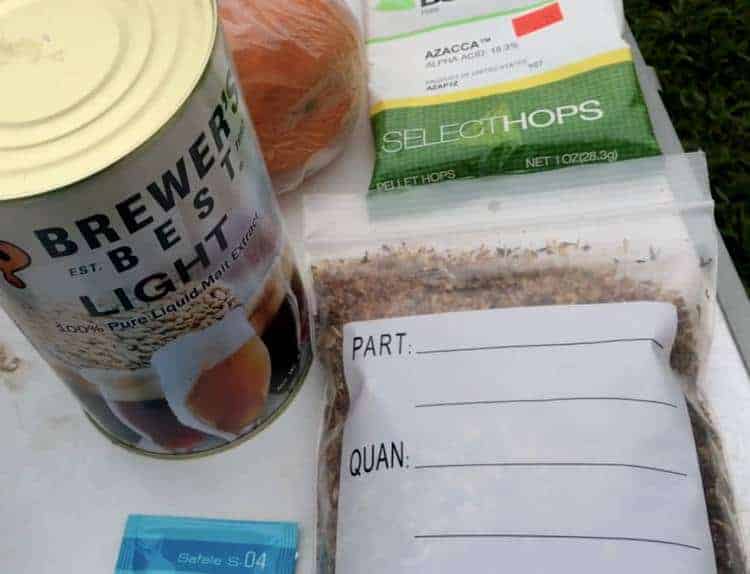
Malts
- 3.30 lb Light Liquid Malt Extract
- 0.25 lb Roasted Barley (grains)
- 0.50 lb Crystal 30L (grains)
Hops
- 0.3 oz Azacca, 14-16% AA (at 60 minutes left in the boil)
- 0.7 oz Azacca, 14-16% AA (at 5 minutes left in the boil)
Additional Items
- 1 oz Tangerine or Mandarin Zest (at 5 minutes left in the boil)
- 1 oz Tangerine or Mandarin zest (post fermentation, 2-3 days prior to bottling)
- 2.75 oz. corn sugar for priming when bottling
Yeast
- 1 packet Safale S-04 Dry English Ale Yeast
- (Could substitute Wyeast 1968 or White Labs WLP002)
Target Specifications
- Original Gravity: 1.050
- Final Gravity: 1.014
- ABV: 4.7%
- IBU: 40
We are brewing 3 gallons in the RV due to space constraints in storing beer. It is also easier to cool down faster and takes less water and lets face it, in an RV there’s less available water. Use your resources wisely, and making beer is a wise decision.
STEP BY STEP INSTRUCTIONS
1) Heat up 2 gallons of water to 150 degrees. What kind of water? As a homebrewer, ask yourself what you think about your tap water. Does it have a strong smell or taste? Do you like it? If you like it, use it. If not sure, buy distilled water from the store. As an RV brewer, water is a precious resource, especially if you’re not hooked up to water, so just be prepared to use a lot of water for brewing, sanitizing, and cleaning.

2) While waiting for the water to reach 150 degrees, put grains into the muslin bag (grain bag). Once at 150 degrees, add grains to water and steep for 30 minutes.
3) Turn off the flame and remove the grains, letting the water drip out of them, but do not squeeze the grain bag because this action could potentially create off flavors in your beer. To squeeze or not to squeeze is a hotly debatable issue amongst brewers. If your curiosity is piqued by a hot debate, let us know what you find out. But, what do I do with the spent grains? You can discard them or get very creative with them. Some people make dog treats, others make spent grain cookies. What will you make? Me? I freeze them with all kinds of cool plans and then forget about them. Sad face.
4) Add the malt extract, stirring while adding it to the water. You want it completely dissolved, so it becomes a solution, which is now called wort.
5) Turn the flame back on to get the wort to the boiling point.
6a) Once the wort starts to boil, set your timer for whatever the recipe calls for; this one is 60 minutes. Our recipe, like most, calls for a hops addition at the start of the boil. Prepare your hops bag (same type of bag as the grain bag, just smaller) by placing 0.3 oz of the hops in the bag and drop the bag in at the start of the boil, and then continue the boil.
6b) Most recipes call for additional hop additions throughout the boil and some will call for other ingredients. Ours calls for one more hop addition as well as an addition of orange zest. Prepare another hop bag by adding 0.7 oz of the hops in the bag and one ounce of orange zest into another bag. Drop both bags into the pot at five minutes left in the boil.
7) Boil’s done. Turn burner off. From this point on, anything that touches the wort must be sanitized. Remove all hop bags and any flavor additions.
8) Not every brewer will agree with this, but we’re not here to make them happy, we’re here to make us happy, and we are improvising for a small space with a small pot. When we first started our wort, we only had about 2 1/2 gallons, and if you remember we want to have 3 gallons of beer. Since some of the water dissipated in the boil, we are now going to add a gallon of distilled water – sealed – to the wort to get us to the 3 gallons. If we would have started with the full 3 gallons, it would have boiled over during the boil, so we improvised. Normally, if you can, add all the water you need in the beginning, but brewing in an RV or small space changes things, so go with it.
9) Cool down the wort as soon as you can to 65 degrees. In the RV or other small space, we used our tub and filled it full of ice. Normally, we would have used a cool toy called a wort chiller, which we still have, but it didn’t fit in our tiny pot, so again, we improvised.
Continue to make sure that everything that touches the wort is sanitized.
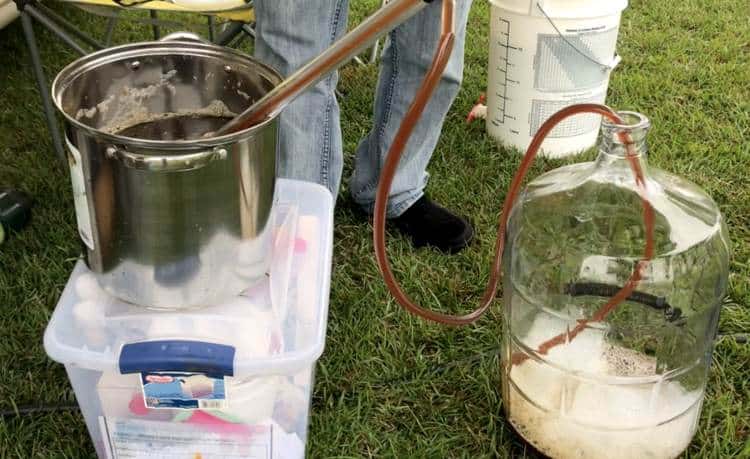
10) Once cooled, transfer from the kettle to the fermenter (carboy). (You can argue over the spelling of fermenter vs fermentor. I have better things to do.) This process is called racking. To do this, we used an auto-siphon. While doing this, be sure to siphon a bit of wort into a vial to check the original gravity (OG), using a hydrometer. OG is basically how much sugar is in your liquid. The difference between the OG and the final gravity will tell you how much of that sugar was converted into alcohol – the ABV.
11) Once the wort is transferred into the fermenter shake it up to aerate it. A minute is just fine. This is the only time you will be shaking this solution. This is not a shaken cocktail…it is beer! (At least it will be soon.)
12) Time to pitch the yeast. All that means is that you put the yeast into the fermenter.
13) Cap off the fermenter with a bubbler air lock (sanitized). This allows an escape route for the carbon dioxide that builds up. if you just capped it off without this, the entire solution could explode. Kaboom! No more beer! Sad face.
14) Store your beer in a dark cool place (put it in the closest, or the tub in our RV, get creative) to keep it at the specific temperature your recipe calls for. Ours is around the 68-70 degree range. Check on it throughout the process to make sure it remains the correct temp. Store for a week (depends on recipe). It’s really exciting to check on your beer the first couple of days because the yeast is very active, and it bubbles and makes noise like crazy.
Wait…Wait for it…
BOTTLING
This batch of beer will require about 45 to 50 12-ounce bottles along with the same amount of bottle caps. Clean and sanitize your bottles, caps and all other equipment before you start the bottling process. Star San is an easy-to-use sanitizer that is commonly used by homebrewers.
You’ll also need (clean and sanitized) a bottling bucket, auto-siphon, bottle filler, and bottle capper. (I recommend the stand-up bench style bottle cappers, not the cheap handheld ones. It just makes bottling much easier.)
1) In a small pot, boil 3 oz of priming sugar in 1 cup of water for two minutes and let cool to approximately room temperature. You can quickly cool the small pot in a sink filled with about an inch of cold water. Pour the cooled liquid into your bottling bucket, then siphon the beer from the fermenter leaving any sediment behind. Make sure that the siphon hose is at the bottom of the bucket so the siphoning action evenly mixes the sugar water with the beer for uniform carbonation. When siphoning is complete, gently stir the beer with a sanitized spoon.
2) Attach the bottle filler hose to the spigot of the bottling bucket. Insert the bottle filler into a bottle, then open the spigot, and press the bottle filler against the bottom of the bottle to fill.
3) Fill the bottles to the top and lift the bottle filler to stop the flow. When you remove the filler, it will allow enough head space in the bottle for the carbonation. Cap the bottle, and repeat the process until all bottles are filled. Let sit for at least 2 weeks in a dark place at room temperature (the bottles won’t carbonate in the refrigerator).
4) Chill and enjoy. Cheers!
Were you really trying to brew beer without the proper equipment?
Equipment Needed to Homebrew in Small Spaces
Affiliate Link Disclosure: As Amazon associates we earn from qualifying purchases. We wouldn’t recommend these products, if we didn’t love them, too.
- large spoon
- 5 gallon stainless steel pot and lid
- thermometer
- 5 gallon glass carboy (fermenter) (or you can use a plastic wide-mouthed fermenter)
- auto-siphon
- bubble air-lock and carboy bung cap
- muslin (grain and hop bags)
- sanitizer
- hydrometer and vial (optional)
- wort chiller (optional)
- carboy cleaning brush
- bottles (24 pack)
- bottle capper
- bottle filler
- bottling bucket
- bottling caps
- Brewing Book – Great resource – How to Brew by John J. Palmer